Your garage door opens fine but won't close, and the opener light blinks ten times when you press the button. That's almost always a sensor problem. The fix takes most homeowners five minutes once they know what to look at. The harder part is knowing when it isn't the sensor.
01The 60-second check (do this first)
Before you touch anything, look at the two sensors at the bottom of the door track. One on each side, mounted about four to six inches off the ground. Each has a small LED. What you see in the next 60 seconds tells you whether you have a sensor problem at all.
- Both LEDs are solid. The sensors are talking to each other. If the door still won't close, the sensors aren't the problem. Skip to when it isn't the sensor.
- One LED is blinking, the other solid. Classic misalignment. The alignment procedure below will fix it in about five minutes.
- One LED is completely off. Power or wiring problem on that side. Look for a chewed wire (rodents go after the low-voltage insulation), a loose staple along the track, or a wire pulled out at the back of the opener.
- Both LEDs are off. The opener isn't sending power to the sensor circuit. Check the breaker, then check the two sets of wires at the back of the motor unit. They sometimes back out of the spring-loaded terminals when the opener vibrates.
That triage alone closes out half of "my sensors aren't working" calls. The ones that remain are real alignment jobs, and those are what the rest of this guide is for.
02What you actually need
Three things:
- A dry microfiber cloth or clean cotton t-shirt
- A small Phillips screwdriver (most sensor brackets use a #2 Phillips)
- A flashlight if your garage is dim
What you don't need: a laser level, a torpedo level, a piece of string strung between the sensors. Those tricks are leftovers from older sensor models with narrower beam angles. Modern photoeye sensors have a beam wide enough that lining them up by eye is precise enough. If a guide tells you to break out a level, the guide was written for 1995.
03The six-step alignment procedure
The procedure is essentially the same across LiftMaster, Genie, Chamberlain, and Craftsman openers. Here's how it works.
Step 1. Cut power to the opener
You're working at floor level, but the door can still cycle if someone hits a remote. Unplug the opener from the ceiling outlet, or flip the breaker. Don't trust the wall control's lock feature for this. Pull the plug.
Step 2. Wipe both lenses with a dry cloth
This step alone fixes about a quarter of the sensor calls we run. Pollen, dust, and (in Atlanta in spring) spider webs build a film on the lens until the beam can't punch through. Don't use Windex or any wet cleaner. Moisture in the lens housing creates its own problem. A dry cloth is enough.
Step 3. Loosen the wing nut on the misaligned sensor
That's the one whose LED has been blinking. If both have been blinking, start with the one closer to the wall outlet. The wing nut sits on the bracket where it pivots. Back it off about a half turn. You want the sensor to swivel under light finger pressure, not flop loose.
Step 4. Point the lens directly at the opposite sensor
Stand behind the sensor and sight down the lens like you're aiming a flashlight. The other sensor's housing is your target. The beam is invisible, but the geometry isn't. If you can see the opposite lens straight through your own, the beam is roughly in line.
Step 5. Watch the LED, not the lens
As you move the sensor, the LED goes from blinking to solid the moment the beam locks in. Stop there. Don't keep adjusting to "get it more aligned." The beam either locks or it doesn't, and overshooting puts you back to blinking on the other side.
Step 6. Tighten the wing nut without moving the sensor
This is where most DIY attempts unravel. The act of tightening the nut nudges the sensor a millimeter off, and the LED starts blinking again. Hold the sensor body firmly between thumb and forefinger while you tighten the nut with your other hand. If the LED blinks the moment you let go, loosen, re-point, and try again. Usually two tries gets it.
Plug the opener back in and test the door. If both LEDs are solid and the door closes when you press the button, you're done. Total time: about five minutes once you've done it once.
04LED color codes, decoded by brand
Different brands use different LED schemes, and most DIY guides paper over the differences. Here's what the LEDs mean on the openers we see most often in metro Atlanta garages.
LiftMaster & Chamberlain (same company, same scheme)
- Sending sensor (amber/yellow LED). This is the one that fires the beam. Solid amber means the sensor is powered and firing.
- Receiving sensor (green LED). This is the one that catches the beam. Solid green means it's catching it cleanly.
- Both solid = aligned, door will close.
- Green blinks = beam is reaching the receiver intermittently. Misalignment or an obstruction in the beam path.
- Amber off = sending sensor has no power. Wiring issue on the sender's side.
- Both off = the opener's sensor circuit is dead. Check the wires at the back of the motor unit.
On some LiftMaster models built after roughly 2018, both LEDs are green. Chamberlain consolidated the design. The diagnostic is the same: both solid means aligned. If you're not sure which generation you have, the model number on the side of the motor unit is the quickest way to check.
Genie
- Both sensors typically use green LEDs that pulse when misaligned and go solid when aligned. Older Genie models (pre-2005 or so) used a red LED that lit when the beam was broken, the opposite logic from the green-aligned standard. If your sensors look 25 years old and the LED is red, that's normal for that generation; replacement is usually a better call than alignment because the photoeye degrades.
Craftsman
- Craftsman openers are made by Chamberlain (and have been for two decades), so the LED scheme matches LiftMaster: amber sending, green receiving on older models, both green on newer ones.
Wayne Dalton, Linear, Marantec
- Less common in Atlanta residential but consistent across them: green LED solid = aligned, blinking = misaligned, off = no power.
05Why your sensors keep going out of alignment
If you just aligned them and they're misaligned again a week later, something physical is moving them. The usual suspects, in order of how often we find them on service calls:
The bracket is loose at the track
A single screw holds the sensor mount to the door track. When that screw backs out (and they do, slowly, as the door cycles), the sensor sags on its own weight. Tighten the bracket to the track, not just the swivel wing nut on the sensor itself. If the screw won't hold, the hole is stripped; use a slightly longer screw or a threadlocker.
Something keeps bumping them
The sensors mount at exactly the height that bikes, leaf blowers, kids' sports gear, and lawn tools tend to lean. Move whatever is leaning into the track zone. If you can't, install a short metal guard (a 6-inch length of bent angle iron screwed to the track in front of the sensor), and the leaning stuff hits the guard instead.
The sensor wires are pulling on the housing
When a sensor wire is taut where it connects to the back of the opener, every vibration of the door cycle telegraphs into the sensor housing and slowly works the alignment off. Add slack: staple the wire to the framing with a small service loop within a foot of the sensor.
The garage floor is shifting
Sensor brackets attach to the door tracks, which attach to the floor slab. If the slab cracked or one side dropped a quarter inch (common in older Atlanta homes built on red clay, especially east of I-285), the whole track has shifted. The sensors will keep going out of alignment until the track is re-secured to the framing. That's a tech call, not a DIY fix.
06Atlanta-specific causes we see
Three patterns show up in Georgia garages more than anywhere else. None are in the manufacturer's troubleshooting guide.
West-facing afternoon sun
If your garage opens to the west, July sun hits the east-side sensor lens directly between 4 and 7 PM and washes out the receiving beam. The fix is small: a two-inch piece of black electrical tape on the top of the sensor housing, angled out like a baseball cap brim, blocks the worst of the glare. The tell is that the door works all morning, then refuses to close until the sun drops. If you also get the morning version (east-facing garage, low winter sun), tape the other side.
Spring pollen and spider webs
Atlanta pollen season (mid-March to late April) deposits a yellow-green film on every horizontal surface, sensor lenses included. As soon as the pollen lifts, mud daubers and orb weavers move in. A weekly wipe through April and May prevents 90% of the "the sensors suddenly stopped working" calls we get in spring. If you skip a year of cleaning, you'll find a layered crust that needs a fingernail to scrape off.
Summer humidity and morning condensation
Atlanta dewpoints in July and August routinely sit above 70°F. When the garage cools overnight and the humidity stays up, condensation forms on the sensor lens in the early morning when interior humidity exceeds the lens housing's internal temperature. The lens clears by 10 AM and the sensors work fine the rest of the day. If your door routinely fails to close on muggy mornings only, that's the culprit. Replace the sensor only if it's also at the end of its service life. Otherwise just wait for the lens to dry.
07When the sensor isn't actually the problem
Real diagnostic skill is knowing when alignment is never going to fix it. Failures that look exactly like a sensor problem but aren't:
The wall control is locked
Most LiftMaster wall controls have a "lock" or "vacation" mode button. When engaged, the opener ignores remotes and may flash sensor codes regardless of alignment. The wall button's own indicator light tells you whether you're in lockout. Press the button to release.
The trolley is disengaged
If somebody pulled the emergency release rope (the red one hanging from the rail) and never re-engaged it, the opener motor is disconnected from the door. The door won't close, but the motor cycles in mid-air. The opener may flash a sensor pattern because it can't complete the cycle. Pull the rope back toward the door, then manually move the door until you hear the trolley snap onto the carriage.
A slide lock is engaged
The deadbolt-style lock at the side of the door (usually disused on homes with openers) sometimes gets engaged by a curious kid or a careless elbow. The opener strains against it and may report sensor codes. Disengage the slide lock; if the door now works, zip-tie the lock in the open position so it doesn't catch again.
The opener's logic board has failed
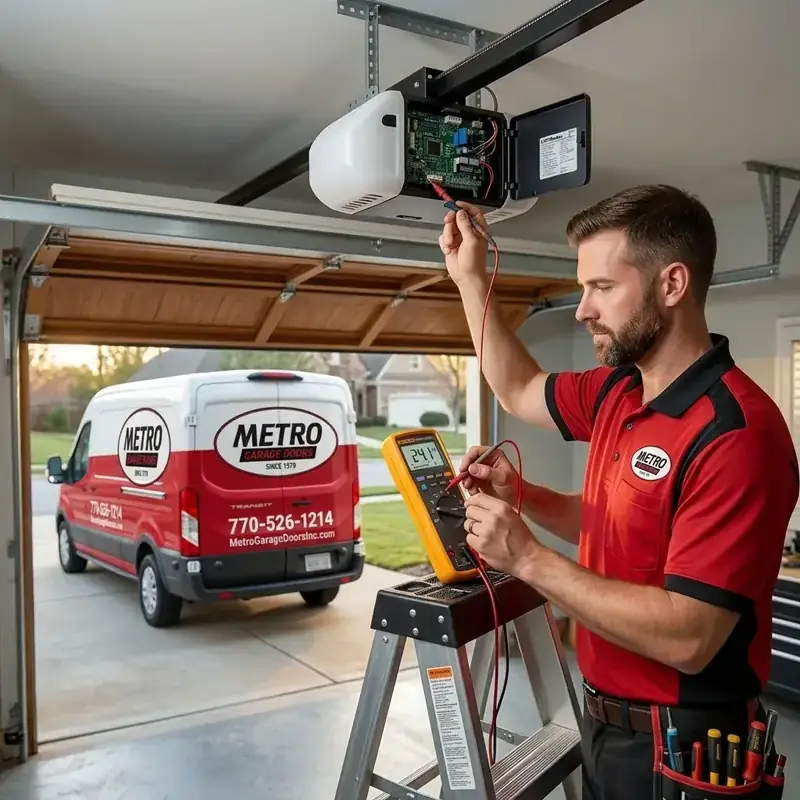
This is the diagnosis when nothing else fits: sensors are aligned, lenses are clean, no obstructions, no lockout, no slide lock, no trolley issue, and the door still won't close. Logic boards typically fail after 10–15 years. The diagnosis takes a multimeter and a wiring diagram. Usually worth calling a tech rather than swapping boards on guesswork. We cover this in more detail in our opener troubleshooting guide.
The sensor itself is dead
Photoeyes have a finite service life of 15 to 20 years for most consumer-grade sensors. The LED dims, the receiver loses sensitivity, and you start getting intermittent failures even when the alignment is perfect. A dead sensor looks just like a misaligned one. The test: swap the sending and receiving units across to opposite sides (they unscrew from their brackets in seconds). If the failure follows the unit to the other side, that unit is bad and needs replacing. Sensor pairs are brand-specific. You can't put a LiftMaster pair on a Genie opener, so match the unit to the opener.
"When a sensor call comes in, my first question is always how old the opener is. Past 15 years, I'm bringing a new sensor pair on the truck even if alignment looks fine on the first attempt. They're cheap, and we don't want to come back." , Brandon Wilson, Metro lead technician
08When to call a pro
Short list. Stop reading and dial if any of these is true:
- You've cleaned and aligned the sensors and the door still won't close.
- The sensor wires have visible damage: chewed by rodents, sliced by a string trimmer along the wall, melted near a hot lamp.
- The opener clicks when you press the button but the door doesn't move. That's likely a logic board or trolley issue, not the sensors.
- The door has more than one symptom at the same time: sensor codes plus weird noises, sensor codes plus uneven closing, sensor codes plus visible wear on the spring or cables.
- You can't see the sensors at all because of how the door was built, or boxes piled in front of them obstruct access.
For any of these, a opener repair or general garage door repair call gets eyes on the system. We carry sensor pairs and replacement wire on every truck. If it's a cheap fix, we do it on the spot.
FAQ
Should both garage door sensors be green?
It depends on the brand and the model year. On LiftMaster and Chamberlain openers built before about 2018, the receiving sensor is green and the sending sensor is amber. Both should be solid (not blinking) for the door to close. On newer LiftMaster/Chamberlain models and on most Genie openers, both LEDs are green and both should be solid. If both your LEDs are green on an older LiftMaster, one sensor is in the wrong bracket. Swap them.
Can I bypass garage door sensors?
You can, but you shouldn't. Federal safety law has required functioning sensors on residential openers since 1993. That requirement exists because doors without working sensors have killed children. If you're tempted to bypass them, the underlying sensor or wiring failure is the real fix.
Do garage door sensors go bad?
Yes. Photoeyes have a 15-to-20-year service life. The LED dims, the receiver loses sensitivity, and you start getting intermittent failures even when alignment is perfect. Replacement sensor pairs are brand-specific, so match the unit to the opener.
How do I know if it's the sensor or the opener?
Swap the two sensor units across to opposite sides (they unscrew from the brackets in seconds and are physically symmetric). If the failure follows the unit to the other side, the sensor is bad. If the failure stays on the same side, the wiring or the opener is the issue.
My sensors are aligned but the door still won't close. What now?
Try the wall control: hold the close button down continuously. If the door closes while you hold it but reverses when you release, the opener is overriding the close command because of detected sensor faults. If the door closes normally with the wall button held, you may have a logic-board or wiring issue rather than a sensor issue. Past either of these, it's a tech call.
How often do garage door sensors need to be aligned?
If nothing physical is moving them, they shouldn't need re-aligning at all. If you're aligning them more than once a year, something is wrong: a loose bracket, a vibrating wire, a shifting slab, or a sensor at end of life. The frequency itself is the diagnostic clue.